The Course
Covington Country Club offers a beautiful par-72 layout featuring a mix of challenging par-4s and rewarding par-5s enjoyed by golfers of all skill levels.
-
![]()
Hole 1 | Par 4
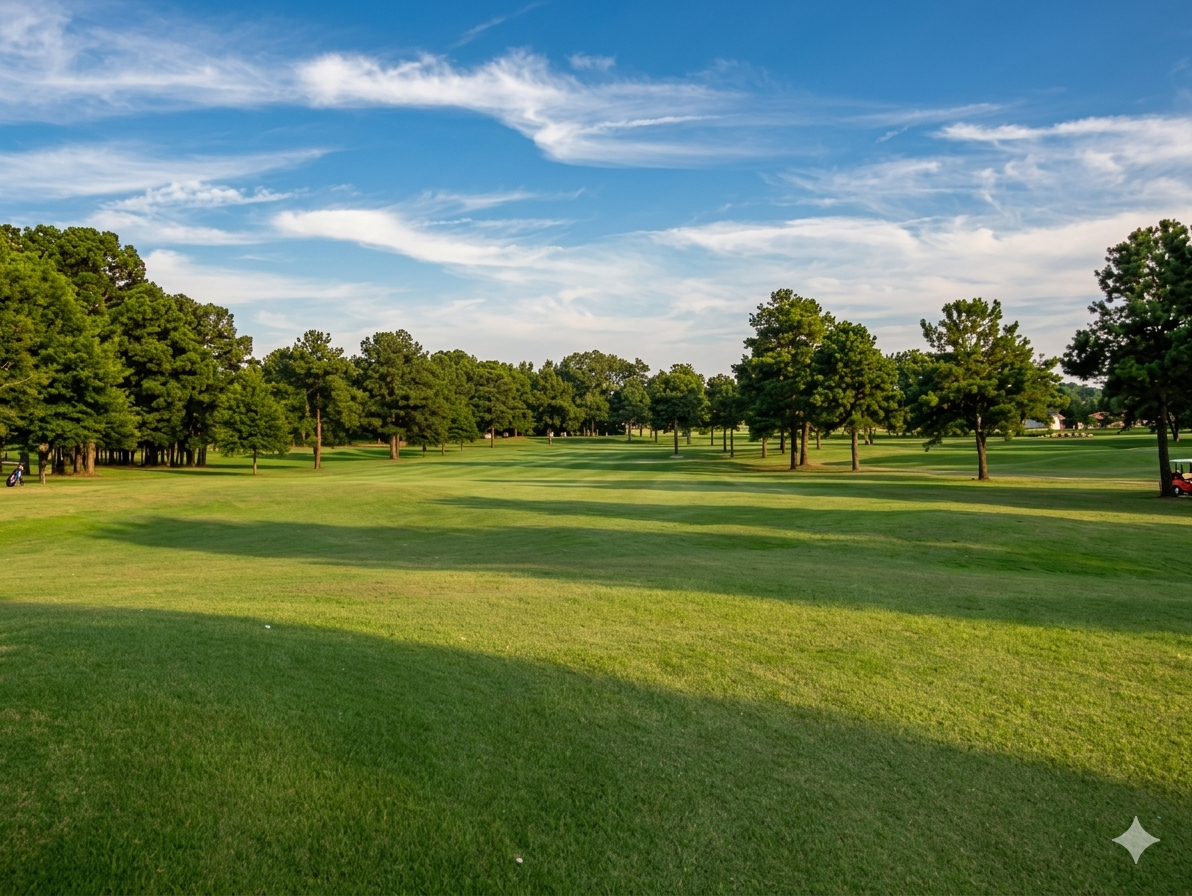
Hole 1 serves as a gentle handshake opener to your round, featuring a welcoming fairway with a slight dogleg that rewards a well-placed tee shot. Beautifully framed by mature trees on both sides, it offers a clean, straightforward approach to the opening green. It is the perfect introduction to the course, designed to help you find your rhythm and start your day with confidence.
-
![]()
Hole 2 | Par 5
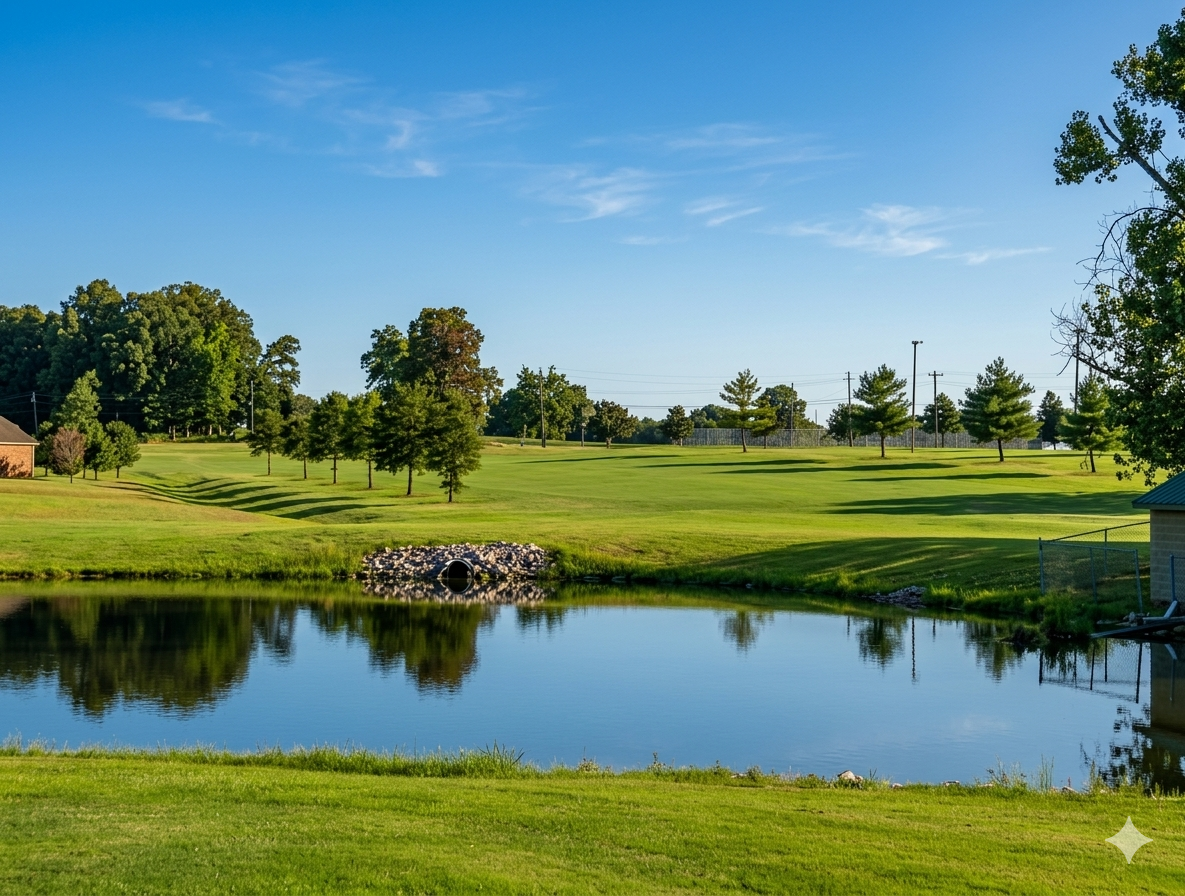
Hole 2 presents the course's first par 5, standing as a true three-shot hole that rewards patience and strategic placement. A scenic water hazard frames the terrain, testing your accuracy and distance control on both the tee shot and the layup. Successfully navigating the rolling fairway to find the green in regulation sets up a fantastic opportunity to build early momentum in your round.
-
![]()
Hole 3 | Par 3
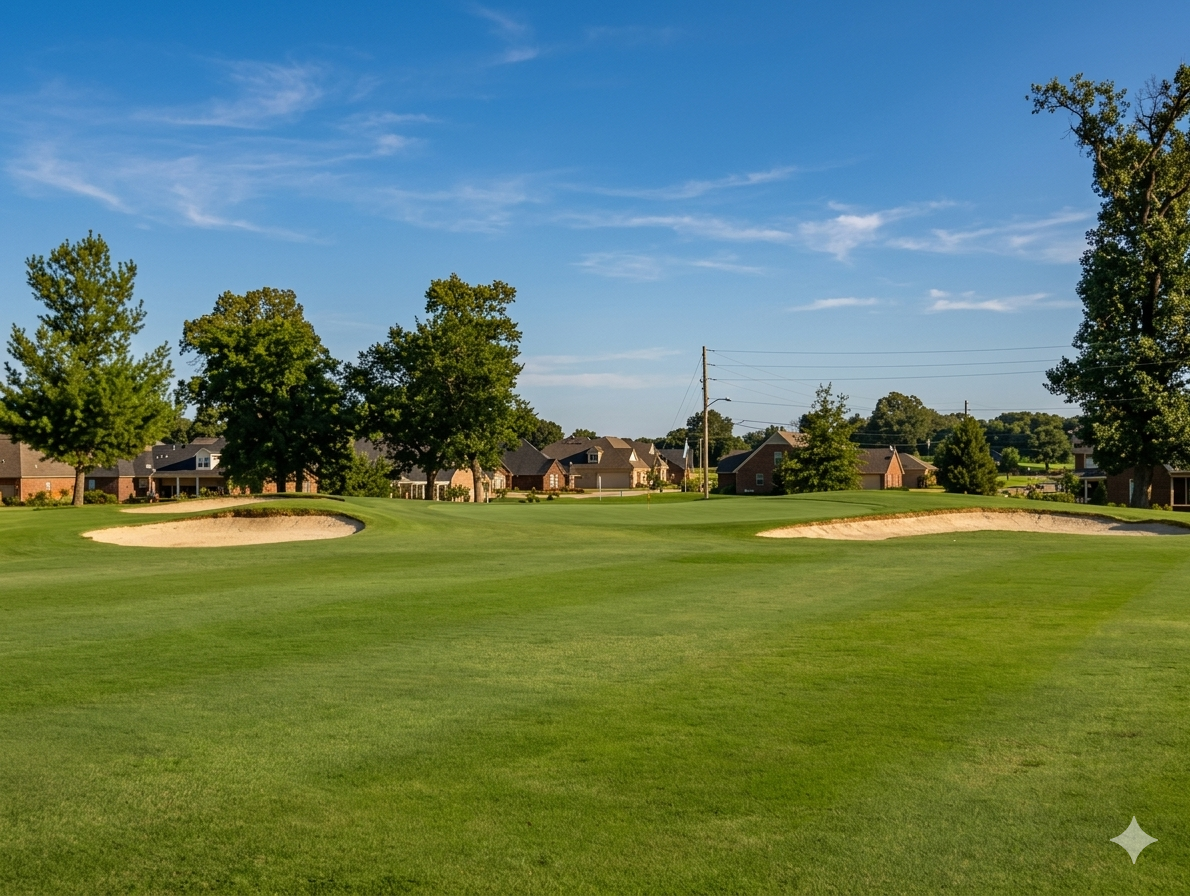
Hole #3 is a demanding par 3 that places a premium on pinpoint accuracy. Guarded by two deep and strategically placed bunkers, this contoured putting surface requires a precise tee shot to hold the green and secure a par.
-
![]()
Hole 4 | Par 4
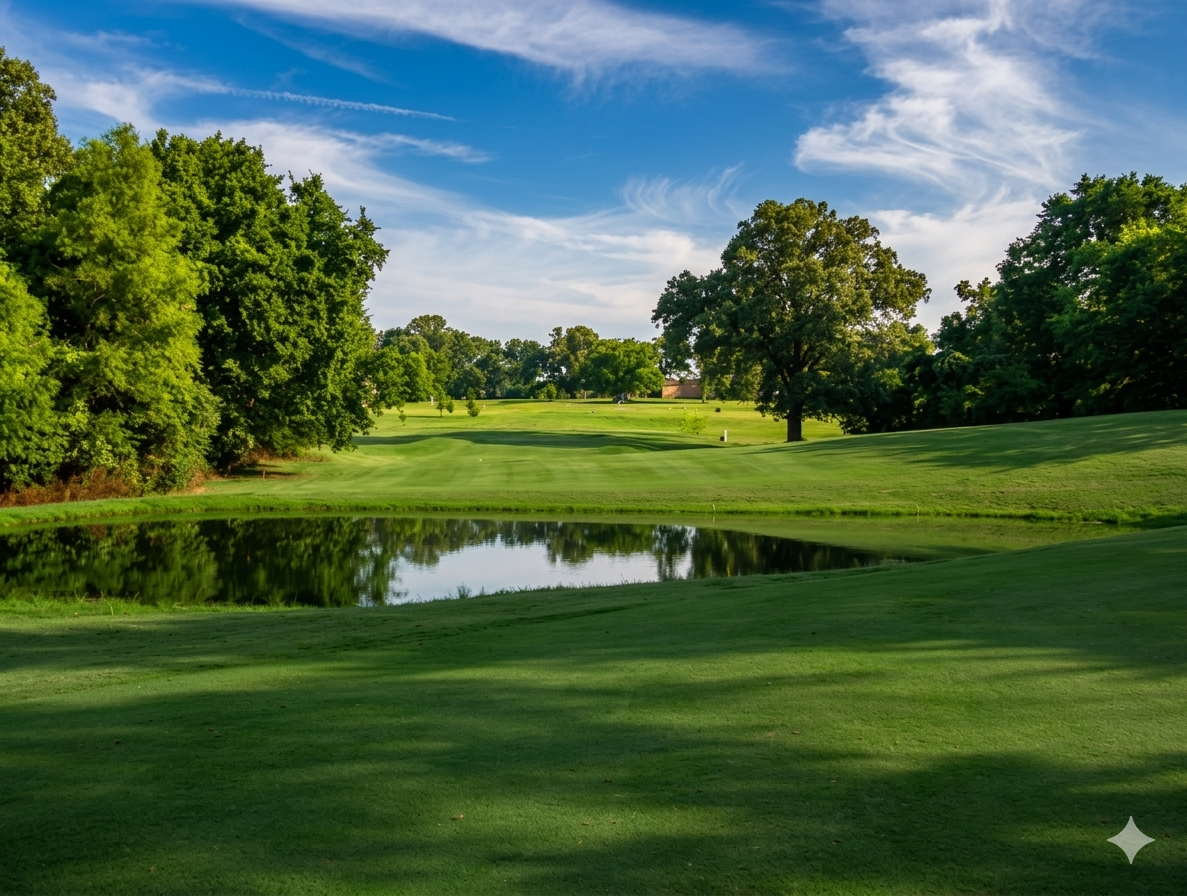
Hole 4 stands as a premier test on the course, ranking as the men’s number-one handicap and women’s number-three handicap. Ranging from 326 to 386 yards, this formidable par 4 forces a critical strategic decision right from the tee: lay up safely short of the water or challenge the hazard with a bold 250-yard carry. Though the green is free of surrounding bunkers, its dramatic, two-tiered surface features a sharp four-foot elevation change, making a precise approach and a deft putting touch vital to saving par.
-
![]()
Hole 5 | Par 4
Measuring 230 to 280 yards, Hole 5 is a classic risk-reward short par 4. Ranking as the #17 handicap for men and #15 for women, a blind tee shot and a large bunker force a tactical decision off the tee: lay up to a comfortable yardage or go for it and attempt to drive the green. Whatever your strategy, aim to leave your ball below the pin—the green features a dramatic six-foot back-to-front slope that makes downhill putts extremely slick.
-
![]()
Hole 6 | Par 5
Precision trumps power on this strategic par 5. A dogleg-right layout lined with mature trees, Hole 6 punishes offline swings with out-of-bounds lurking along the entire right side. Favor the left off the tee to stay safe and open up the fairway. Navigate the tree-lined corridor successfully, and you'll set up a short wedge into the green for a stress-free par or birdie.
-
![]()
Hole 7 | Par 4
Ranking as the #13 handicap for both men and women, Hole 7 is a clean, straightforward dogleg left stretching up to 373 yards. Free of hazards, this hole offers a welcome scoring opportunity on the front nine. A solid drive around the corner sets up a short iron or wedge into the green for a genuine look at birdie.
-
![]()
Hole 8 | Par 3
Ranking as the #5 handicap for men and #7 for women, Hole 8 is a stern par 3 stretching up to 171 yards where club selection is everything. A hazard ditch borders the left side before feeding into a pond behind the green complex. Up ahead, the large, elevated green features a steep false front ready to reject short tee shots, making a precise, well-struck shot mandatory to secure your par.
-
![]()
Hole 10 | Par 3
Kicking off a demanding stretch to start the back nine, Hole 10 is one of the longest par 3s on the course, stretching up to 190 yards. Ranking as the #6 handicap for men and #12 for women, there is zero room for error—a pond guards the entire front of the green, requiring a well-struck tee shot to clear the water and secure your par.
-
![]()
Hole 13 | Par 4
Distance control and positioning are paramount on this formidable par 4. A hazard ditch borders the right side of the fairway, while a pond sits directly in play 230 to 240 yards off the men’s tee. To score well, players must favor the left side of the fairway on their drive, keeping short of the water to set up a crucial mid-iron approach into the green complex. Par here is a well-earned score
-
![]()
Hole 14 | Par 4
Ranking as the #1 handicap for women and #3 for men, Hole 14 requires total focus from tee to green. Water comes into play immediately off the tee, leading into a hazard that lines the left side before wrapping around the green alongside a second guarding pond. Walk off 14 with a par, and you'll easily gain ground on the field.
-
![]()
Hole 15 | Par 3
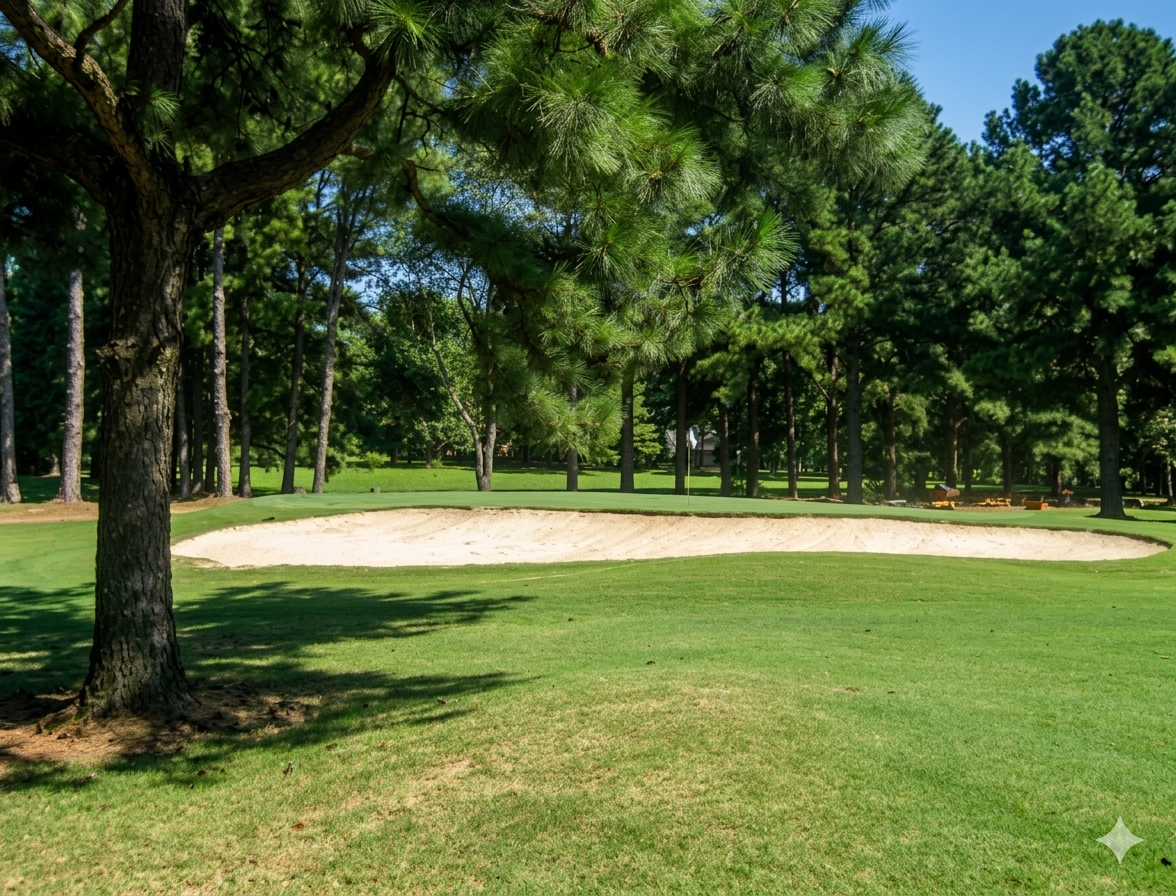
Hole 15 is a beautifully framed hole nestled against a backdrop of towering pine trees that demand accuracy on your approach. A large, prominent sand bunker guards the front of the green, testing both your distance control and confidence over the ball. Navigating the mature shade trees and clearing the hazard to find the putting surface makes walking away with a par here incredibly rewarding.
-
![]()
Hole 16 | Par 4
Hole 16 demands total commitment from the tee box. The primary defense here is a large mature tree on the right side of the fairway that can completely shut down your route to the green. Hug the left-center of the fairway on your drive to secure a clean look at the flag. Find your target off the tee and par is well within reach, but miss your mark and you'll be fighting to save score.
-
![]()
Hole 17 | Par 5
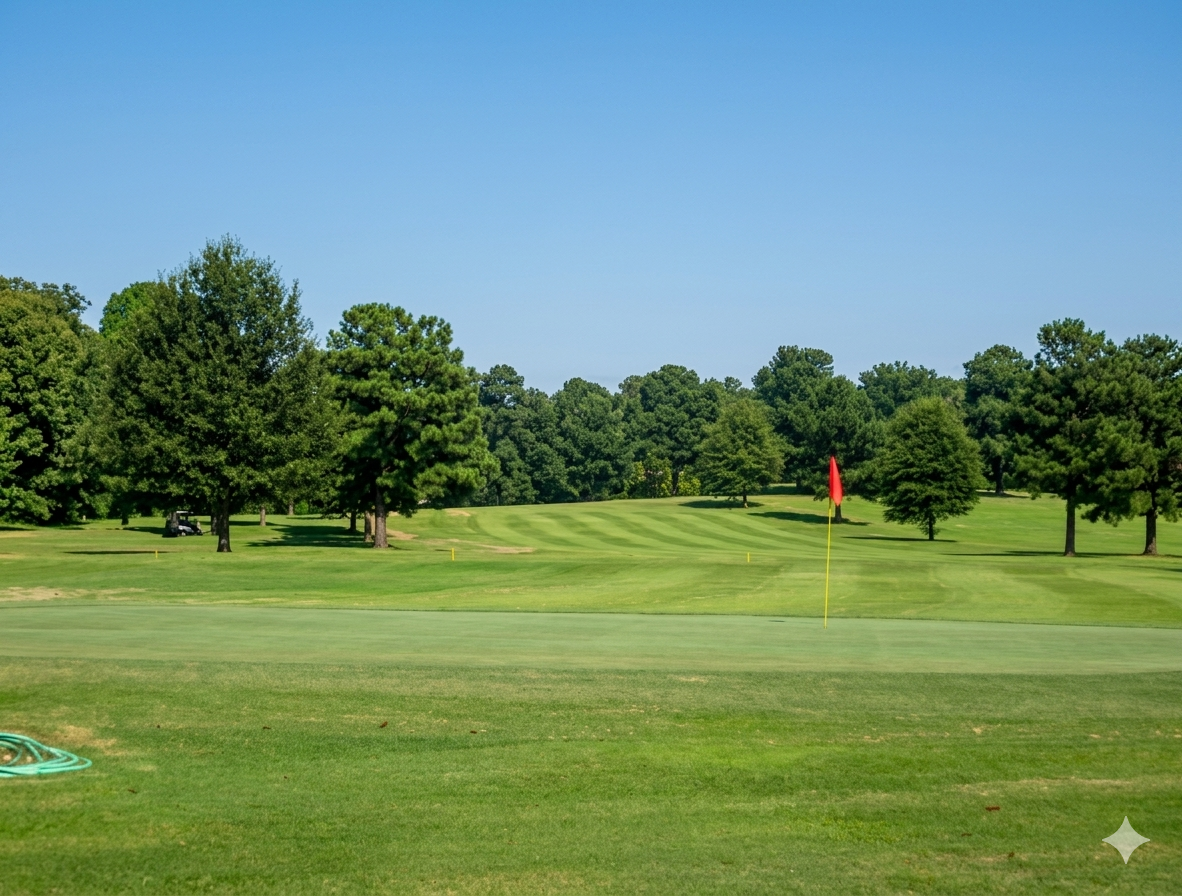
Hole 17 is a short par 5 that offers players a fantastic opportunity to card an easy birdie late in their round. The wide, beautifully striped fairway invites an aggressive tee shot, framed by a scenic border of mature trees on both sides. Finding the crisp putting surface with a smart approach will leave you in a prime position to walk away with a lower score.
-
![]()
Hole 18 | Par 5
Hole 18 is a rewarding par-5 finisher that gives you a great opportunity to close out your round with a birdie. Once you roll in that final putt, head over to the patio and clubhouse to relax with a cold drink and a great meal.